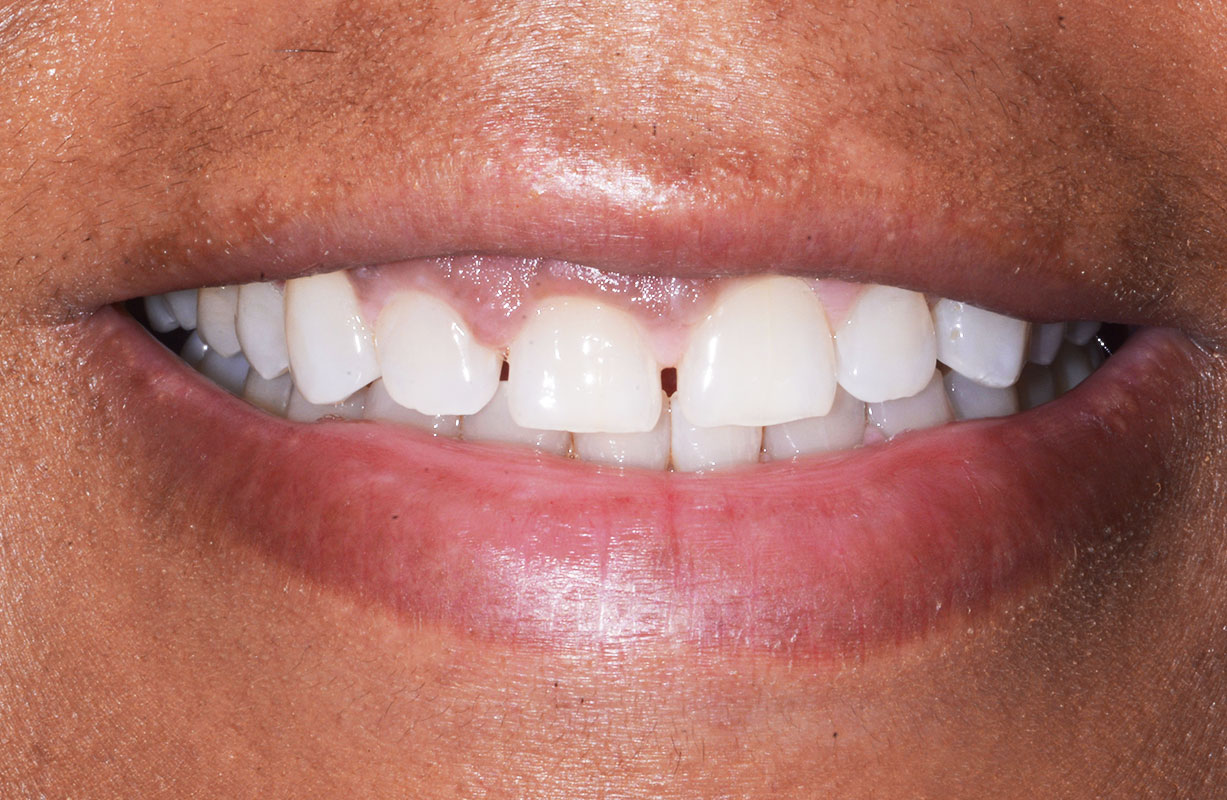
Bioclear Diastema Closure Clark Dental
Find inspiration for Bioclear Diastema Closure Clark Dental with our image finder website, Bioclear Diastema Closure Clark Dental is one of the most popular images and photo galleries in Crumbeble Huch In Diastema Closure Gallery, Bioclear Diastema Closure Clark Dental Picture are available in collection of high-quality images and discover endless ideas for your living spaces, You will be able to watch high quality photo galleries Bioclear Diastema Closure Clark Dental.
aiartphotoz.com is free images/photos finder and fully automatic search engine, No Images files are hosted on our server, All links and images displayed on our site are automatically indexed by our crawlers, We only help to make it easier for visitors to find a free wallpaper, background Photos, Design Collection, Home Decor and Interior Design photos in some search engines. aiartphotoz.com is not responsible for third party website content. If this picture is your intelectual property (copyright infringement) or child pornography / immature images, please send email to aiophotoz[at]gmail.com for abuse. We will follow up your report/abuse within 24 hours.
Related Images of Bioclear Diastema Closure Clark Dental
Pdf Diastema Closure Using Direct Bonding Restorations Combined With
Pdf Diastema Closure Using Direct Bonding Restorations Combined With
654×752
Diastema Closure A Step By Step Protocol Myzerodonto
Diastema Closure A Step By Step Protocol Myzerodonto
1024×618

Orthodontic Treatment Of Median Diastema By Preadjusted Roth Type 018
Orthodontic Treatment Of Median Diastema By Preadjusted Roth Type 018
850×1106

Diastema Closure With Vittra Aps Unique Fgmus
Diastema Closure With Vittra Aps Unique Fgmus
1500×739


Multiple Diastema Closure In The Frontal Area
Multiple Diastema Closure In The Frontal Area
1068×717

Diastema Closure A Before Treatment B Clinical Appearance After
Diastema Closure A Before Treatment B Clinical Appearance After
640×640
Diastema Closure A Step By Step Protocol Myzerodonto
Diastema Closure A Step By Step Protocol Myzerodonto
916×1024


Pdf Diastema Closure Using Direct Bonding Restorations Combined With
Pdf Diastema Closure Using Direct Bonding Restorations Combined With
654×668
Figure 4 From Diastema Closure With Direct Composite Architectural
Figure 4 From Diastema Closure With Direct Composite Architectural
630×954

Post Orthodontic Diastema Closure Using The Front Wing Technique
Post Orthodontic Diastema Closure Using The Front Wing Technique
1068×716

Clinical Case Lateral Diastema Closure 3m Dental Blog
Clinical Case Lateral Diastema Closure 3m Dental Blog
560×400


Simplified Diastema Closure
Simplified Diastema Closure
1024×688
3d Render Of Diastema Closure Using Bonding Procedure Royalty Free
3d Render Of Diastema Closure Using Bonding Procedure Royalty Free
1600×1290

Simplified Diastema Closure
Simplified Diastema Closure
1068×716

3d Render Of Diastema Closure Using Bonding Procedure Part 4
3d Render Of Diastema Closure Using Bonding Procedure Part 4
1300×1065

3d Render Of Diastema Closure Using Bonding Procedure Part 8 Polishing
3d Render Of Diastema Closure Using Bonding Procedure Part 8 Polishing
1300×1065

Diastema Closure Made Easy With Simple Protocols
Diastema Closure Made Easy With Simple Protocols
1024×687

Simplified Diastema Closure
Simplified Diastema Closure
1024×685

Diastema Closure Made Easy With Simple Protocols
Diastema Closure Made Easy With Simple Protocols
1068×712

Diastema Closure London Book A Consultation Online Now
Diastema Closure London Book A Consultation Online Now
2560×810
Diastema Closure A Step By Step Protocol Myzerodonto
Diastema Closure A Step By Step Protocol Myzerodonto
806×1024

Diastema Closure 1 Dental Clinic In Coimbatore Tooth Town
Diastema Closure 1 Dental Clinic In Coimbatore Tooth Town
986×765

Diastema Closure With Direct Composite Myzerodonto
Diastema Closure With Direct Composite Myzerodonto
2048×2048

Post Orthodontic Diastema Closure Using The Front Wing Technique
Post Orthodontic Diastema Closure Using The Front Wing Technique
1024×686
