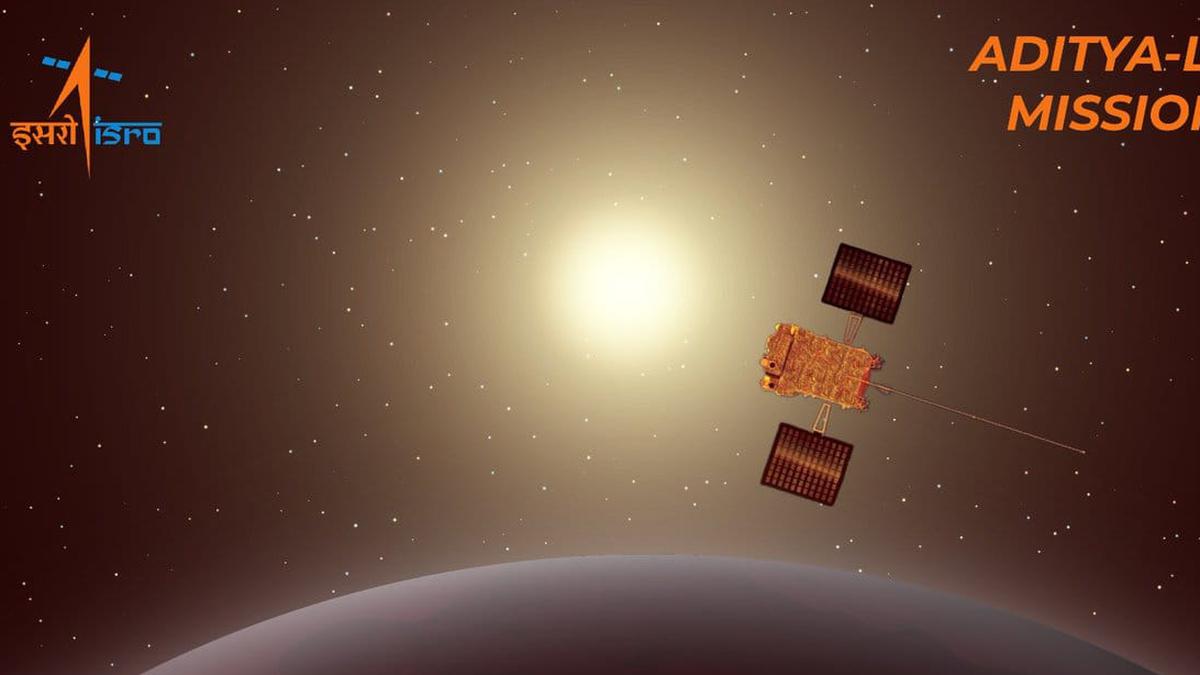
Isros Aditya L1 Successfully Placed In A Halo Orbit Around L1 Point
Find inspiration for Isros Aditya L1 Successfully Placed In A Halo Orbit Around L1 Point with our image finder website, Isros Aditya L1 Successfully Placed In A Halo Orbit Around L1 Point is one of the most popular images and photo galleries in Aditya L1 Successfully Entered The Halo Orbit Around L1 Point And Other Gallery, Isros Aditya L1 Successfully Placed In A Halo Orbit Around L1 Point Picture are available in collection of high-quality images and discover endless ideas for your living spaces, You will be able to watch high quality photo galleries Isros Aditya L1 Successfully Placed In A Halo Orbit Around L1 Point.
aiartphotoz.com is free images/photos finder and fully automatic search engine, No Images files are hosted on our server, All links and images displayed on our site are automatically indexed by our crawlers, We only help to make it easier for visitors to find a free wallpaper, background Photos, Design Collection, Home Decor and Interior Design photos in some search engines. aiartphotoz.com is not responsible for third party website content. If this picture is your intelectual property (copyright infringement) or child pornography / immature images, please send email to aiophotoz[at]gmail.com for abuse. We will follow up your report/abuse within 24 hours.
Related Images of Isros Aditya L1 Successfully Placed In A Halo Orbit Around L1 Point

Aditya L1 Successfully Placed In A Halo Orbit Around L1 Point Civilsdaily
Aditya L1 Successfully Placed In A Halo Orbit Around L1 Point Civilsdaily
658×346
Aditya L1 Mission Isro Set To Perform Final Manoeuvre To Place
Aditya L1 Mission Isro Set To Perform Final Manoeuvre To Place
1024×683

Aditya L1 Successfully Entered The Halo Orbit Around L1 Point And Other
Aditya L1 Successfully Entered The Halo Orbit Around L1 Point And Other
1280×720

Isros Aditya L1 Successfully Placed In A Halo Orbit Around L1 Point
Isros Aditya L1 Successfully Placed In A Halo Orbit Around L1 Point
1172×736


Isros Aditya L1 Completes Halo Orbit L1 Orissapost
Isros Aditya L1 Completes Halo Orbit L1 Orissapost
602×411

In Yet Another Landmark Isros First Sun Mission Aditya L1 Successfully
In Yet Another Landmark Isros First Sun Mission Aditya L1 Successfully
800×420

Aditya L1 Has Successfully Entered The Halo Orbit Around The L1 Point
Aditya L1 Has Successfully Entered The Halo Orbit Around The L1 Point
3375×3333
Halo Orbit Insertion Of Aditya L1 Successfully Accomplished
Halo Orbit Insertion Of Aditya L1 Successfully Accomplished
1073×667

Aditya L1 To Enter Halo Orbit On Saturday Heres How Isro Will Park It
Aditya L1 To Enter Halo Orbit On Saturday Heres How Isro Will Park It
750×422

Aditya L1 Spacecraft Successfully Enters Final Halo Orbit Whats Next
Aditya L1 Spacecraft Successfully Enters Final Halo Orbit Whats Next
1200×675

Aditya L1 Isro Solar Mission India Sun Observatory How Long To Reach
Aditya L1 Isro Solar Mission India Sun Observatory How Long To Reach
720×540

Isro Aditya L1 Successfully Enters Halo Orbit Around L1 Point
Isro Aditya L1 Successfully Enters Halo Orbit Around L1 Point
860×538
Isros Aditya L1 Successfully Placed In A Halo Orbit Around L1 Point
Isros Aditya L1 Successfully Placed In A Halo Orbit Around L1 Point
1200×675

‘from Moon Walk To Sun Dance India Says As Aditya L1 Reaches Halo
‘from Moon Walk To Sun Dance India Says As Aditya L1 Reaches Halo
600×337
Isros Aditya L1 Completes First Halo Orbit Around Sun Earth L1 Point
Isros Aditya L1 Completes First Halo Orbit Around Sun Earth L1 Point
1600×900
Esa How Is Esa Supporting Isros Aditya L1 Solar Mission
Esa How Is Esa Supporting Isros Aditya L1 Solar Mission
1920×1920

Isros Aditya L1 Reaches Destination Successfully Placed In A Halo
Isros Aditya L1 Reaches Destination Successfully Placed In A Halo
900×400

Fourth Earth Bound Manoeuvre Of Aditya L1 Mission Successfully Performed
Fourth Earth Bound Manoeuvre Of Aditya L1 Mission Successfully Performed
640×516

Isros Aditya L1 Successfully Placed In A Halo Orbit Around L1 Point
Isros Aditya L1 Successfully Placed In A Halo Orbit Around L1 Point
1280×720
Aditya L1 Mission Successful Halo Orbit Insertion Marks A Milestone In
Aditya L1 Mission Successful Halo Orbit Insertion Marks A Milestone In
665×511
Indias Sun Mission Update Isro Creates History Successfully Injects
Indias Sun Mission Update Isro Creates History Successfully Injects
1280×720

Aditya L1 Healthy First Earth Bound Manoeuvre Puts Spacecraft In 245km
Aditya L1 Healthy First Earth Bound Manoeuvre Puts Spacecraft In 245km
1068×580

Isro Launches Indias First Solar Mission ‘aditya L1 From Sriharikota
Isro Launches Indias First Solar Mission ‘aditya L1 From Sriharikota
2560×1704

Aditya L1 Successfully Entered The Halo Orbit Around The L1 Point
Aditya L1 Successfully Entered The Halo Orbit Around The L1 Point
1280×720

Aditya L1 To Enter In Halo Orbit Tomorrow 06 January Read All About
Aditya L1 To Enter In Halo Orbit Tomorrow 06 January Read All About
1500×1159
Aditya L1 Achieves Milestone With First Halo Orbit Around L1 Point
Aditya L1 Achieves Milestone With First Halo Orbit Around L1 Point
1200×793

First Orbit Raising Maneuver Of Aditya L1 Successful Science
First Orbit Raising Maneuver Of Aditya L1 Successful Science
827×465

Aditya L1 Update Isro Successfully Deploys Magnetometer Boom In Halo
Aditya L1 Update Isro Successfully Deploys Magnetometer Boom In Halo
690×388

Indias Solar Mission Aditya L1 Has Successfully Completed Its First
Indias Solar Mission Aditya L1 Has Successfully Completed Its First
750×350

Isro Scripts History Aditya L1 Successfully Inserted In Halo Orbit
Isro Scripts History Aditya L1 Successfully Inserted In Halo Orbit
600×338

Aditya L1 Successfully Enters Halo Orbit At L1 Point In Solar Mission
Aditya L1 Successfully Enters Halo Orbit At L1 Point In Solar Mission
1080×1080

Aditya L1 Enters Pioneering Halo Orbit Around The Sun
Aditya L1 Enters Pioneering Halo Orbit Around The Sun
636×351

Aditya L1 Launch Aditya L1 Successfully Completes First Orbit Raising
Aditya L1 Launch Aditya L1 Successfully Completes First Orbit Raising
1280×720

Isros Aditya L1 Successfully Placed In A Halo Orbit Around L1 Point
Isros Aditya L1 Successfully Placed In A Halo Orbit Around L1 Point
1280×720
