Karangahake Tunnel Sketch By Barry Brickell New Zealand Potters
Find inspiration for Karangahake Tunnel Sketch By Barry Brickell New Zealand Potters with our image finder website, Karangahake Tunnel Sketch By Barry Brickell New Zealand Potters is one of the most popular images and photo galleries in Karangahake Tunnel Sketch By Barry Brickell New Zealand Potters Gallery, Karangahake Tunnel Sketch By Barry Brickell New Zealand Potters Picture are available in collection of high-quality images and discover endless ideas for your living spaces, You will be able to watch high quality photo galleries Karangahake Tunnel Sketch By Barry Brickell New Zealand Potters.
aiartphotoz.com is free images/photos finder and fully automatic search engine, No Images files are hosted on our server, All links and images displayed on our site are automatically indexed by our crawlers, We only help to make it easier for visitors to find a free wallpaper, background Photos, Design Collection, Home Decor and Interior Design photos in some search engines. aiartphotoz.com is not responsible for third party website content. If this picture is your intelectual property (copyright infringement) or child pornography / immature images, please send email to aiophotoz[at]gmail.com for abuse. We will follow up your report/abuse within 24 hours.
Related Images of Karangahake Tunnel Sketch By Barry Brickell New Zealand Potters

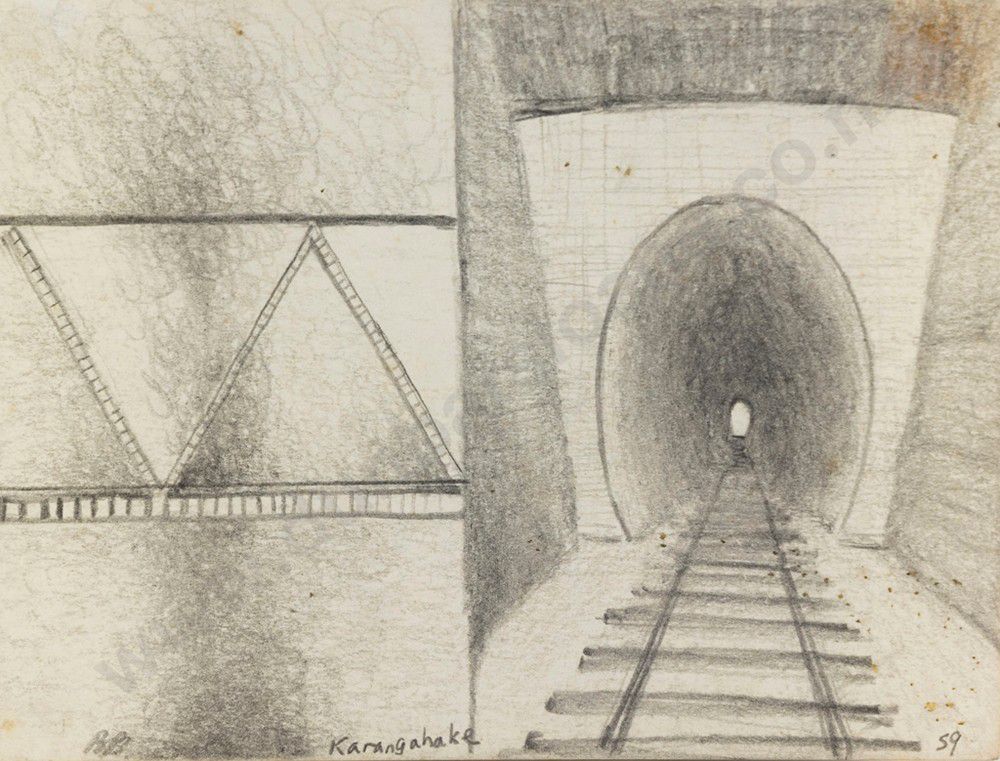
Karangahake Tunnel Sketch By Barry Brickell New Zealand Potters
Karangahake Tunnel Sketch By Barry Brickell New Zealand Potters
1000×761

Combined Railway And Traffic Bridge Showing The Karangahake Tunnel On
Combined Railway And Traffic Bridge Showing The Karangahake Tunnel On
750×667

Barry Brickell His Own Steam New Zealand Potters And Themes Ceramics
Barry Brickell His Own Steam New Zealand Potters And Themes Ceramics
1000×800
Karangahake Tunnel Looking In From The Top Of The Old Doub Flickr
Karangahake Tunnel Looking In From The Top Of The Old Doub Flickr
1024×836

A Vertical Shot Of A Decommissioned Rail Tunnel In Karangahake Gorge
A Vertical Shot Of A Decommissioned Rail Tunnel In Karangahake Gorge
975×1390

Foreign Tourist Visitor Explores New Zealand Karangahake Window Walk
Foreign Tourist Visitor Explores New Zealand Karangahake Window Walk
1000×667

One Mile Old Railway Tunnel At Coromandel Karangahake Tunnel Walk New
One Mile Old Railway Tunnel At Coromandel Karangahake Tunnel Walk New
1300×956

Karangahake Tunnel Karangahake Gorge Waikato New Zealand Stock Image
Karangahake Tunnel Karangahake Gorge Waikato New Zealand Stock Image
1200×1690


Karangahake Tunnel Hi Res Stock Photography And Images Alamy
Karangahake Tunnel Hi Res Stock Photography And Images Alamy
1300×1065

Views Of Gorge From Tunnels Along The Karangahake Windows Walk Waikino
Views Of Gorge From Tunnels Along The Karangahake Windows Walk Waikino
866×1390
Karangahake Old Railway Tunnel Loop Waikato New Zealand 259 Reviews
Karangahake Old Railway Tunnel Loop Waikato New Zealand 259 Reviews
1200×630
Karangahake Railway Tunnel Itravelnz® New Zealand In Your Pocket
Karangahake Railway Tunnel Itravelnz® New Zealand In Your Pocket
1024×682

Karangahake Gorge Mining Tunnels New Zealand Tunnel Mining Staircase
Karangahake Gorge Mining Tunnels New Zealand Tunnel Mining Staircase
459×816
Red Light At The End Of Karangahake Tunnel New Zealand Royalty Free
Red Light At The End Of Karangahake Tunnel New Zealand Royalty Free
866×1390

Karangahake Gorge A Walk Through Gold Mining Tunnels
Karangahake Gorge A Walk Through Gold Mining Tunnels
1024×768


Step Back In Time Experience The Wonders Of The Karangahake Rail
Step Back In Time Experience The Wonders Of The Karangahake Rail
768×576

Views Of Gorge From Tunnels Along The Karangahake Windows Walk Waikino
Views Of Gorge From Tunnels Along The Karangahake Windows Walk Waikino
1300×956
Karangahake Old Railway Tunnel Loop Waikato New Zealand 290 Reviews
Karangahake Old Railway Tunnel Loop Waikato New Zealand 290 Reviews
2044×624

Barry Brickell A Gallery From Nine To Noon Rnz National
Barry Brickell A Gallery From Nine To Noon Rnz National
446×600

Karangahake Gorge Historic Walkway Short Rail Tunnel Loop Freewalksnz
Karangahake Gorge Historic Walkway Short Rail Tunnel Loop Freewalksnz
768×507
Information Board At Enterance To Karangahake Rail Tunnel On Hauraki
Information Board At Enterance To Karangahake Rail Tunnel On Hauraki
1300×956


Karangahake Gorge Historic Walkway Short Rail Tunnel Loop Freewalksnz
Karangahake Gorge Historic Walkway Short Rail Tunnel Loop Freewalksnz
600×400

Karangahake Old Railway Tunnel Loop Waikato New Zealand 551 Reviews
Karangahake Old Railway Tunnel Loop Waikato New Zealand 551 Reviews
1200×630

Karangahake Gorge Historic Walkway Short Rail Tunnel Loop Freewalksnz
Karangahake Gorge Historic Walkway Short Rail Tunnel Loop Freewalksnz
600×400
Karangahake Gorge Historic Walkway Short Rail Tunnel Loop Freewalksnz
Karangahake Gorge Historic Walkway Short Rail Tunnel Loop Freewalksnz
1200×600

Barry Brickell Speckled Glaze Vessel With Figurative Decorative Band
Barry Brickell Speckled Glaze Vessel With Figurative Decorative Band
1000×1000

Karangahake Tunnel Walk Karangahake Gorge Lets Be Explorers
Karangahake Tunnel Walk Karangahake Gorge Lets Be Explorers
1200×800

Karangahake Tunnel Walk Karangahake Gorge Lets Be Explorers
Karangahake Tunnel Walk Karangahake Gorge Lets Be Explorers
850×567

Karangahake Gorge Recreation Path And Rail Tunnel On The Ohinemuri
Karangahake Gorge Recreation Path And Rail Tunnel On The Ohinemuri
1300×931


5 Amazing Karangahake Gorge Walks Chur New Zealand
5 Amazing Karangahake Gorge Walks Chur New Zealand
800×496
