Sopwith Camel F1 Details John S Shaw Aviation
Find inspiration for Sopwith Camel F1 Details John S Shaw Aviation with our image finder website, Sopwith Camel F1 Details John S Shaw Aviation is one of the most popular images and photo galleries in Sopwith Camel F1 Details John S Shaw Aviation Gallery, Sopwith Camel F1 Details John S Shaw Aviation Picture are available in collection of high-quality images and discover endless ideas for your living spaces, You will be able to watch high quality photo galleries Sopwith Camel F1 Details John S Shaw Aviation.
aiartphotoz.com is free images/photos finder and fully automatic search engine, No Images files are hosted on our server, All links and images displayed on our site are automatically indexed by our crawlers, We only help to make it easier for visitors to find a free wallpaper, background Photos, Design Collection, Home Decor and Interior Design photos in some search engines. aiartphotoz.com is not responsible for third party website content. If this picture is your intelectual property (copyright infringement) or child pornography / immature images, please send email to aiophotoz[at]gmail.com for abuse. We will follow up your report/abuse within 24 hours.
Related Images of Sopwith Camel F1 Details John S Shaw Aviation

Sopwith Camel F1 Introduction John S Shaw Aviation
Sopwith Camel F1 Introduction John S Shaw Aviation
800×600
Sopwith Camel F1 Introduction John S Shaw Aviation
Sopwith Camel F1 Introduction John S Shaw Aviation
800×600

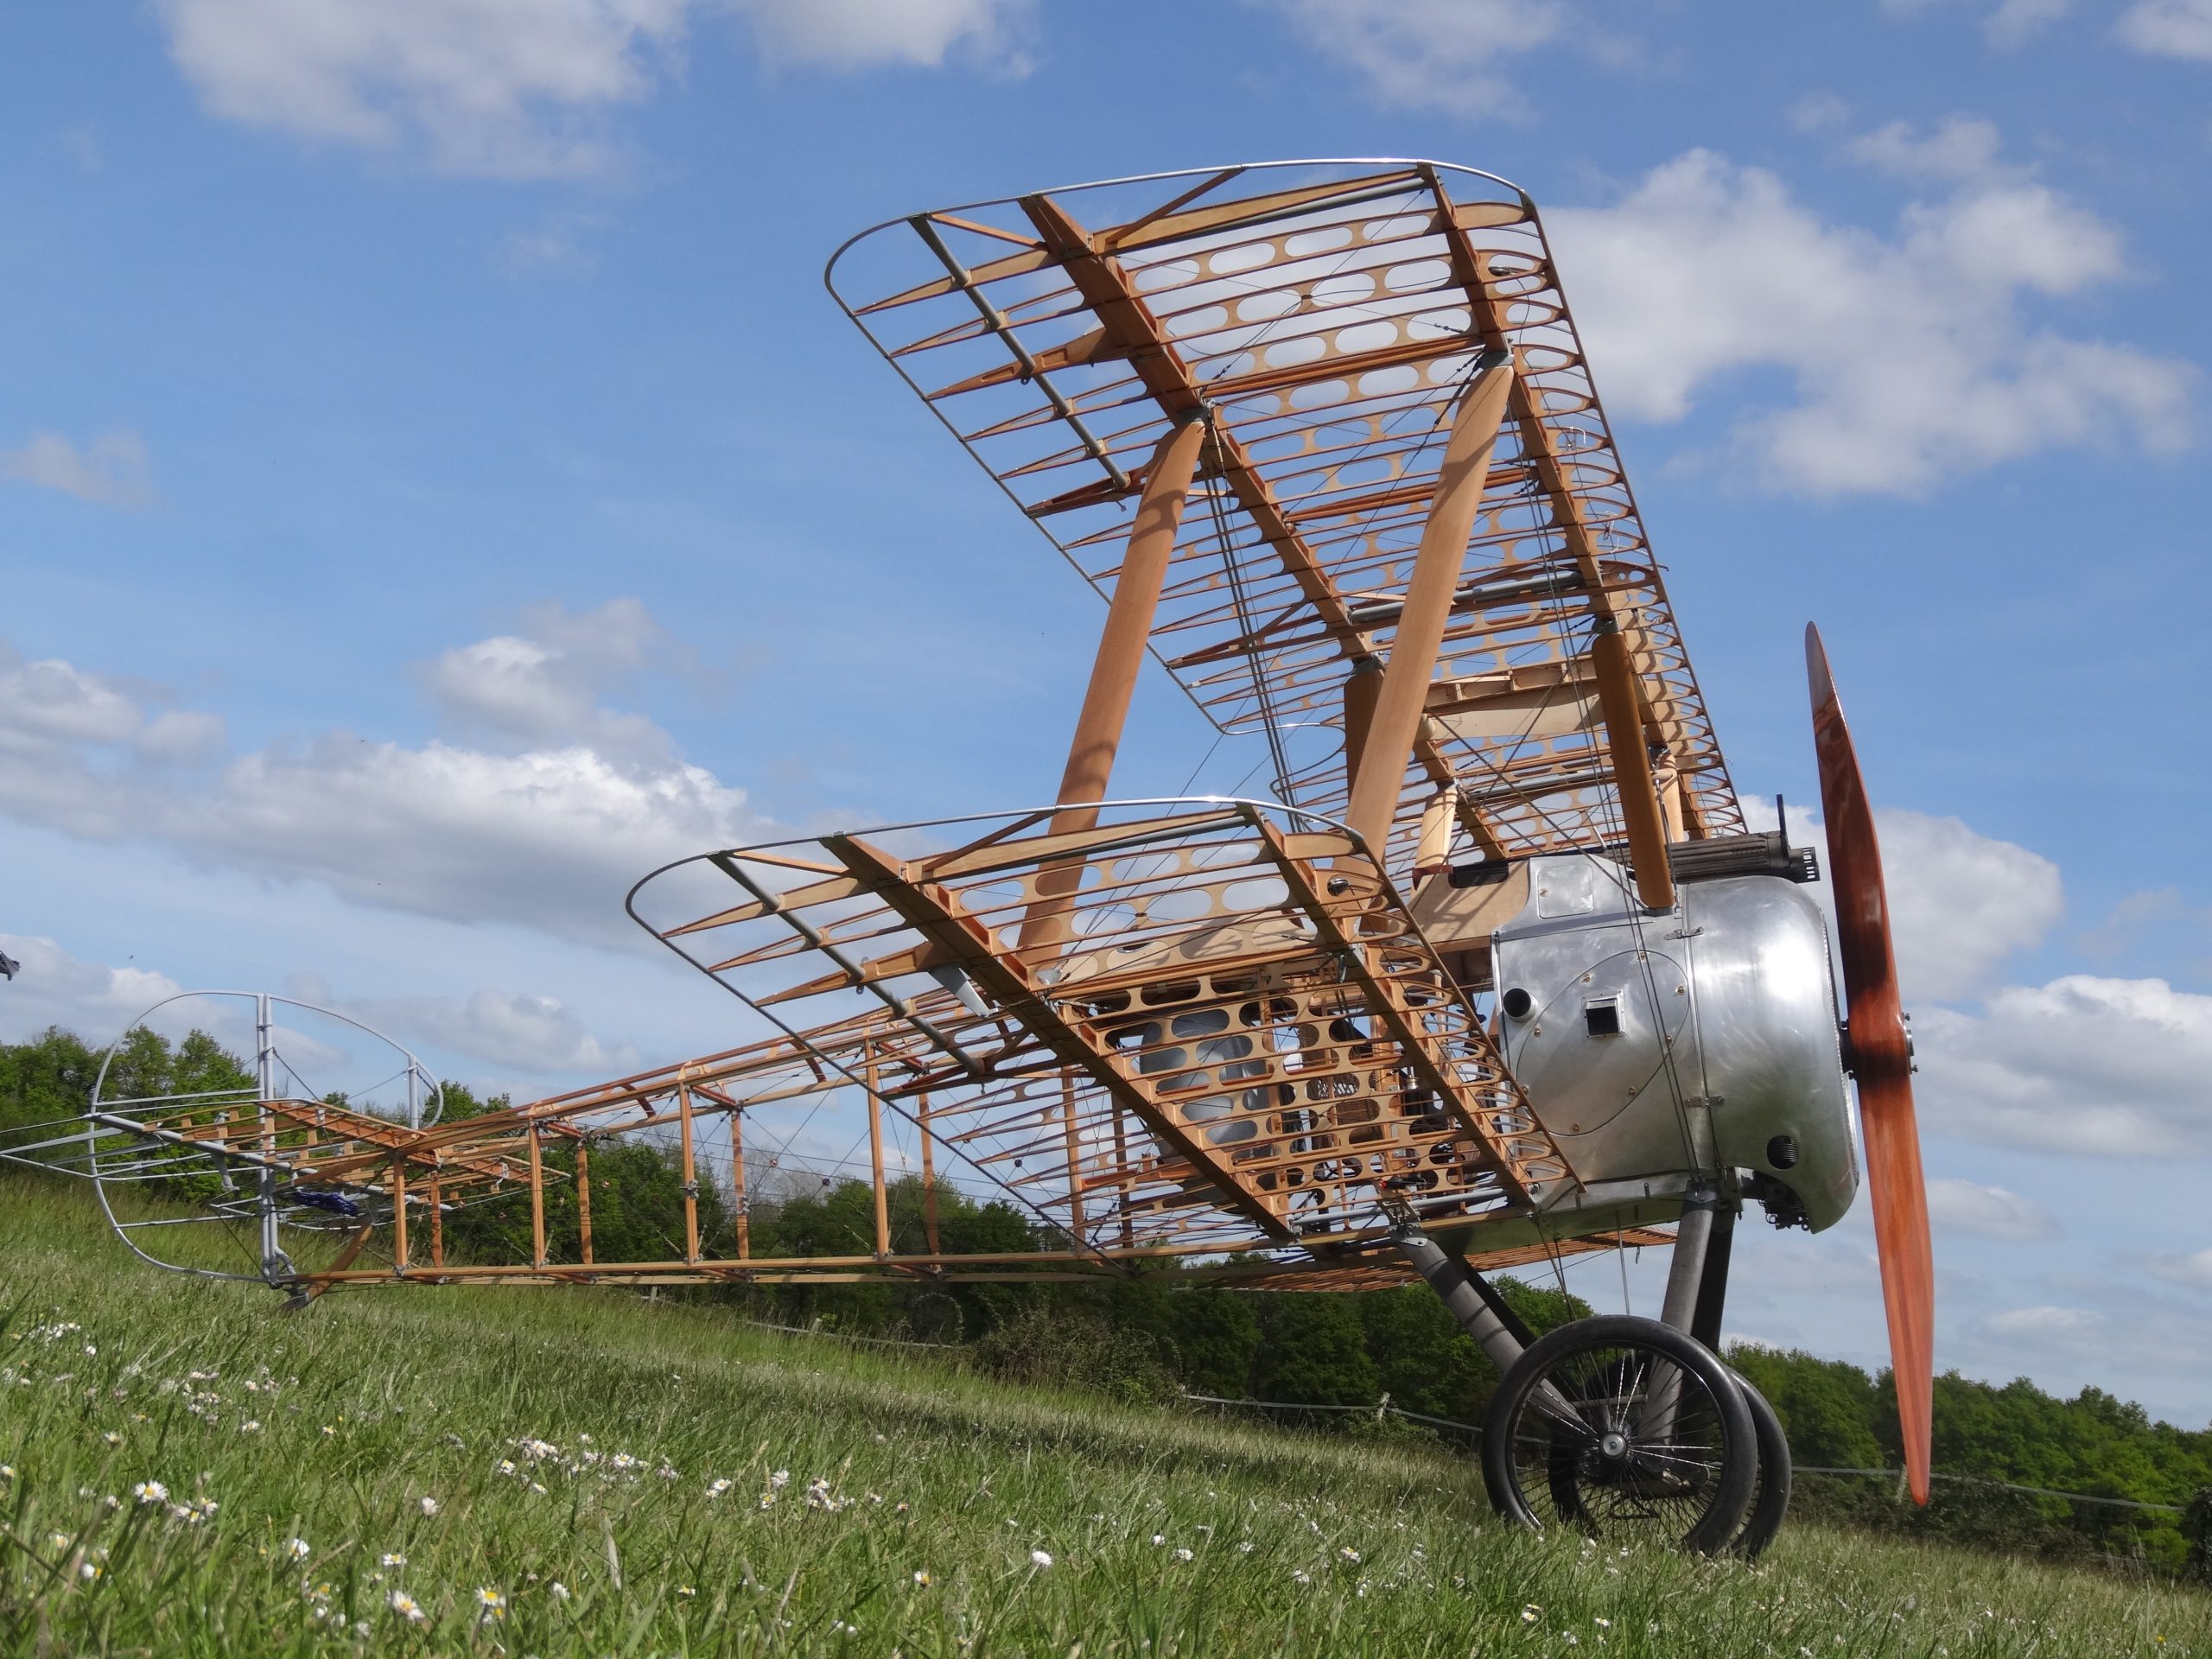
Sopwith Camel F1 Details John S Shaw Aviation
Sopwith Camel F1 Details John S Shaw Aviation
2560×1920

Sopwith Camel F1 Introduction John S Shaw Aviation
Sopwith Camel F1 Introduction John S Shaw Aviation
800×600

Sopwith Camel F1 Introduction John S Shaw Aviation
Sopwith Camel F1 Introduction John S Shaw Aviation
800×600
Sopwith Camel F1 Introduction John S Shaw Aviation
Sopwith Camel F1 Introduction John S Shaw Aviation
800×600

Sopwith Camel F1 Introduction John S Shaw Aviation
Sopwith Camel F1 Introduction John S Shaw Aviation
800×600

Sopwith Camel F1 Introduction John S Shaw Aviation
Sopwith Camel F1 Introduction John S Shaw Aviation
800×600

Sopwith Camel F1 Introduction John S Shaw Aviation
Sopwith Camel F1 Introduction John S Shaw Aviation
800×600

Sopwith Camel Wheels And Undercarriage John S Shaw Aviation
Sopwith Camel Wheels And Undercarriage John S Shaw Aviation
1024×682

Sopwith Camel F1 Introduction John S Shaw Aviation
Sopwith Camel F1 Introduction John S Shaw Aviation
800×600

Sopwith Camel Construction General John S Shaw Aviation
Sopwith Camel Construction General John S Shaw Aviation
800×600

Sopwith Camel F1 Introduction John S Shaw Aviation
Sopwith Camel F1 Introduction John S Shaw Aviation
800×600

Sopwith Camel Construction Fuselage John S Shaw Aviation
Sopwith Camel Construction Fuselage John S Shaw Aviation
1024×1536

Sopwith Camel Construction Empennage John S Shaw Aviation
Sopwith Camel Construction Empennage John S Shaw Aviation
1024×682


Sopwith Camel Wheels And Undercarriage John S Shaw Aviation
Sopwith Camel Wheels And Undercarriage John S Shaw Aviation
1024×682

Sopwith F1 Camel National Air And Space Museum
Sopwith F1 Camel National Air And Space Museum
900×600

Sopwith Camel Construction Empennage John S Shaw Aviation
Sopwith Camel Construction Empennage John S Shaw Aviation
1024×682


Sopwith F1 Camel National Air And Space Museum
Sopwith F1 Camel National Air And Space Museum
900×723

Sopwith Camel Armament John S Shaw Aviation
Sopwith Camel Armament John S Shaw Aviation
1600×1200

Sopwith Camel Construction Empennage John S Shaw Aviation
Sopwith Camel Construction Empennage John S Shaw Aviation
1024×682

Rigging The Sopwith Camel John S Shaw Aviation
Rigging The Sopwith Camel John S Shaw Aviation
640×360

Sopwith Camel Construction Struts And Fairings John S Shaw Aviation
Sopwith Camel Construction Struts And Fairings John S Shaw Aviation
1024×682

Sopwith F1 Camel
Sopwith F1 Camel
3000×2000
Sopwith Camel Construction Wings John S Shaw Aviation
Sopwith Camel Construction Wings John S Shaw Aviation
800×600

Sopwith Camel Equipment John S Shaw Aviation
Sopwith Camel Equipment John S Shaw Aviation
1024×682

Sopwith Camel F1 Introduction John S Shaw Aviation
Sopwith Camel F1 Introduction John S Shaw Aviation
800×600

Sopwith Camel Instruments John S Shaw Aviation
Sopwith Camel Instruments John S Shaw Aviation
1024×768

Sopwith Camel Instruments John S Shaw Aviation
Sopwith Camel Instruments John S Shaw Aviation
780×602
