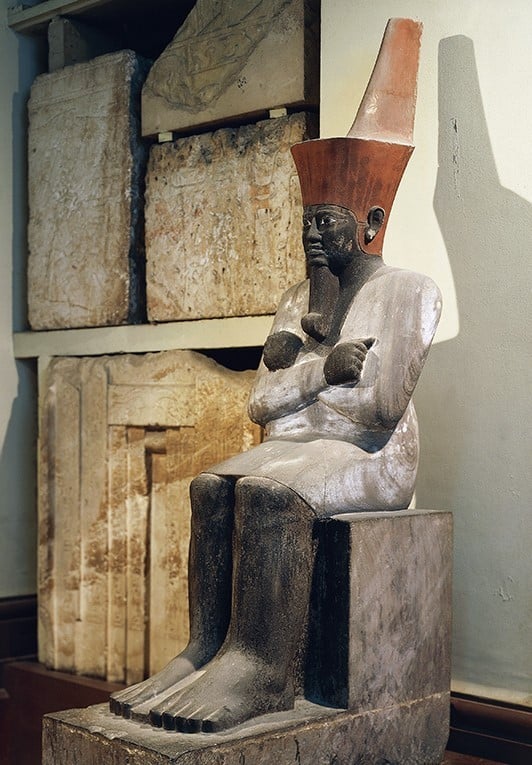
Statue Of Mentuhotep Ii Egypt Museum
Find inspiration for Statue Of Mentuhotep Ii Egypt Museum with our image finder website, Statue Of Mentuhotep Ii Egypt Museum is one of the most popular images and photo galleries in Reconstructed Temple Of Mentuhotep Ii At Deir Egypt Museum Gallery, Statue Of Mentuhotep Ii Egypt Museum Picture are available in collection of high-quality images and discover endless ideas for your living spaces, You will be able to watch high quality photo galleries Statue Of Mentuhotep Ii Egypt Museum.
aiartphotoz.com is free images/photos finder and fully automatic search engine, No Images files are hosted on our server, All links and images displayed on our site are automatically indexed by our crawlers, We only help to make it easier for visitors to find a free wallpaper, background Photos, Design Collection, Home Decor and Interior Design photos in some search engines. aiartphotoz.com is not responsible for third party website content. If this picture is your intelectual property (copyright infringement) or child pornography / immature images, please send email to aiophotoz[at]gmail.com for abuse. We will follow up your report/abuse within 24 hours.
Related Images of Statue Of Mentuhotep Ii Egypt Museum

Reconstructed Temple Of Mentuhotep Ii At Deir Egypt Museum
Reconstructed Temple Of Mentuhotep Ii At Deir Egypt Museum
482×600
The Temple Of Mentuhotep Ii At Deir El Bahri The Past
The Temple Of Mentuhotep Ii At Deir El Bahri The Past
2754×1663

The Temple Of Mentuhotep Ii At Deir El Bahri The Past
The Temple Of Mentuhotep Ii At Deir El Bahri The Past
1194×815

Relief Fragment Painted Limestone 11th Dynasty Mentuhotep Ii Temple
Relief Fragment Painted Limestone 11th Dynasty Mentuhotep Ii Temple
866×1390
Mentuhotep Iis Temple At The Deir El Bahari Mortuary Temples And
Mentuhotep Iis Temple At The Deir El Bahari Mortuary Temples And
1300×833
The Temple Of Mentuhotep Ii At Deir El Bahri The Past
The Temple Of Mentuhotep Ii At Deir El Bahri The Past
1063×789

Model Of Mentuhotep Iis Tomb And Mortuary Temple At Deir El Bahri Ca
Model Of Mentuhotep Iis Tomb And Mortuary Temple At Deir El Bahri Ca
600×400

The Temple Of Mentuhotep Ii At Deir El Bahri Egypt Tour Packages
The Temple Of Mentuhotep Ii At Deir El Bahri Egypt Tour Packages
870×450
The Temple Of Mentuhotep Ii At Deir El Bahri Egypt Tour Packages
The Temple Of Mentuhotep Ii At Deir El Bahri Egypt Tour Packages
870×450
Detail Of Relief With Servant Showing Jewels To The Queen From
Detail Of Relief With Servant Showing Jewels To The Queen From
1260×1008

Relief Fragment Of A Battle Scene Calcareous Stone Reign Of
Relief Fragment Of A Battle Scene Calcareous Stone Reign Of
1300×956

The Temple Of Mentuhotep Ii At Deir El Bahri Egypt Tour Packages
The Temple Of Mentuhotep Ii At Deir El Bahri Egypt Tour Packages
870×450

Temple Of Mentuhotep In Thebes Deir El Bahri Qina Egypt Stock Photo
Temple Of Mentuhotep In Thebes Deir El Bahri Qina Egypt Stock Photo
1300×956

The Temple Of Mentuhotep Ii At Deir El Bahri Egypt Tour Packages
The Temple Of Mentuhotep Ii At Deir El Bahri Egypt Tour Packages
870×450

The Temple Of Mentuhotep Ii At Deir El Bahri The Past
The Temple Of Mentuhotep Ii At Deir El Bahri The Past
654×733

Relief Fragment Painted Limestone 11th Dynasty Mentuhotep Ii Temple
Relief Fragment Painted Limestone 11th Dynasty Mentuhotep Ii Temple
1300×956

The Temple Of Mentuhotep Ii At Deir El Bahri Egypt Tour Packages
The Temple Of Mentuhotep Ii At Deir El Bahri Egypt Tour Packages
870×450

The Temple Of Mentuhotep Ii At Deir El Bahri Egypt Tour Packages
The Temple Of Mentuhotep Ii At Deir El Bahri Egypt Tour Packages
870×450

Mentuhotep Ii Temple Luxor Egypt Tours Prices Booking
Mentuhotep Ii Temple Luxor Egypt Tours Prices Booking
900×500

Stela With Hathor As A Cow Limestone 18th Dynasty Mentuhotep Ii
Stela With Hathor As A Cow Limestone 18th Dynasty Mentuhotep Ii
1300×956

Mortuary Temple Of Mentuhotep Ii 11th Dynasty Middle Kingdom
Mortuary Temple Of Mentuhotep Ii 11th Dynasty Middle Kingdom
1300×936
Stela Fragment With Four Standing Sculptures 18th Dynasty Reign Of
Stela Fragment With Four Standing Sculptures 18th Dynasty Reign Of
1300×956

The Temple Of Mentuhotep Ii At Deir El Bahri The Past
The Temple Of Mentuhotep Ii At Deir El Bahri The Past
498×815

Mentuhotep Ii The 11th Dynastys Pharaoh Who Reunited Egypt And
Mentuhotep Ii The 11th Dynastys Pharaoh Who Reunited Egypt And
700×1004

Stela Fragment With Four Standing Sculptures 18th Dynasty Reign Of
Stela Fragment With Four Standing Sculptures 18th Dynasty Reign Of
1300×1064


Statue Of Mentuhotep Ii Egypt Museum
Statue Of Mentuhotep Ii Egypt Museum
532×765
Templo Mortuorio De Mentuhotep Ii 11ª Dinastía Reino Intermedio
Templo Mortuorio De Mentuhotep Ii 11ª Dinastía Reino Intermedio
1300×954

Temple Of Mentuhotep Ii Temple Dayr Al Baḥrī Egypt Britannica
Temple Of Mentuhotep Ii Temple Dayr Al Baḥrī Egypt Britannica
700×495

Temple Of Mentuhotep Ii
Temple Of Mentuhotep Ii
640×426

Stela With Hathor As A Cow Limestone 18th Dynasty Mentuhotep Ii
Stela With Hathor As A Cow Limestone 18th Dynasty Mentuhotep Ii
1300×956

Temple Of Mentuhotep Ii Temple Dayr Al Baḥrī Egypt Britannica
Temple Of Mentuhotep Ii Temple Dayr Al Baḥrī Egypt Britannica
700×396
