Sumeru Pyramid Exact Location Genshin Impact Hoyolab
Find inspiration for Sumeru Pyramid Exact Location Genshin Impact Hoyolab with our image finder website, Sumeru Pyramid Exact Location Genshin Impact Hoyolab is one of the most popular images and photo galleries in Sumeru Pyramid Exact Location Genshin Impact Hoyolab Gallery, Sumeru Pyramid Exact Location Genshin Impact Hoyolab Picture are available in collection of high-quality images and discover endless ideas for your living spaces, You will be able to watch high quality photo galleries Sumeru Pyramid Exact Location Genshin Impact Hoyolab.
aiartphotoz.com is free images/photos finder and fully automatic search engine, No Images files are hosted on our server, All links and images displayed on our site are automatically indexed by our crawlers, We only help to make it easier for visitors to find a free wallpaper, background Photos, Design Collection, Home Decor and Interior Design photos in some search engines. aiartphotoz.com is not responsible for third party website content. If this picture is your intelectual property (copyright infringement) or child pornography / immature images, please send email to aiophotoz[at]gmail.com for abuse. We will follow up your report/abuse within 24 hours.
Related Images of Sumeru Pyramid Exact Location Genshin Impact Hoyolab
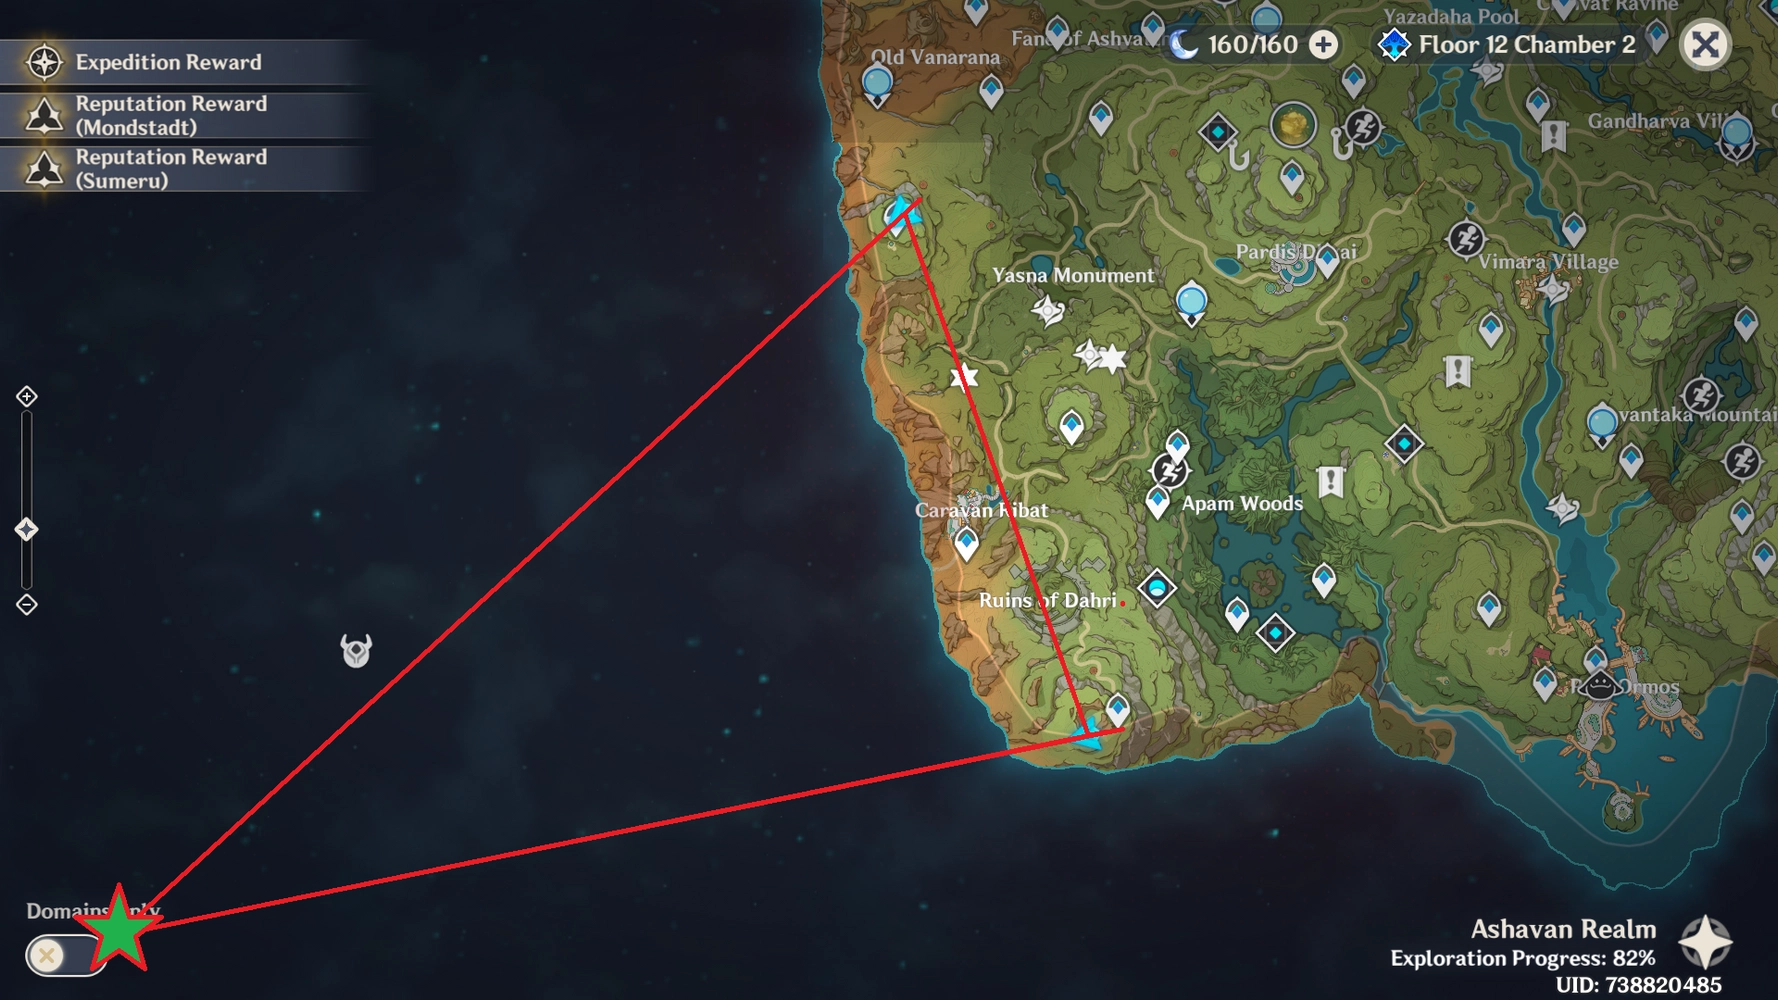
Sumeru Pyramid Exact Location Genshin Impact Hoyolab
Sumeru Pyramid Exact Location Genshin Impact Hoyolab
1778×1000
Sumeru Desert Pyramid Photos Night Genshin Impact Hoyolab
Sumeru Desert Pyramid Photos Night Genshin Impact Hoyolab
1768×816
Sumeru Desert Pyramid Photos Day Genshin Impact Hoyolab
Sumeru Desert Pyramid Photos Day Genshin Impact Hoyolab
1768×816


100 Complete All Sumeru Maps Genshin Impact Hoyolab
100 Complete All Sumeru Maps Genshin Impact Hoyolab
901×793
Localización De Un Santuario En Sumeru Genshin Impact Hoyolab
Localización De Un Santuario En Sumeru Genshin Impact Hoyolab
2400×1080
Sumeru Pyramids Genshin Impact Hoyolab
Sumeru Pyramids Genshin Impact Hoyolab
1012×488
Shrine Of Depth Locations In Sumeru Genshin Impact Hoyolab
Shrine Of Depth Locations In Sumeru Genshin Impact Hoyolab
680×673

Sumeru Pyramid Thing Genshin Impact Hoyolab
Sumeru Pyramid Thing Genshin Impact Hoyolab
1920×1080
Sumeru Desert Pyramid Photos Day Genshin Impact Hoyolab
Sumeru Desert Pyramid Photos Day Genshin Impact Hoyolab
1768×816
Desert Ruins Of Sumeru But Very Pyramid Genshin Impact Hoyolab
Desert Ruins Of Sumeru But Very Pyramid Genshin Impact Hoyolab
1800×810
Sumeru Desert Region In 31 Genshin Impact Hoyolab
Sumeru Desert Region In 31 Genshin Impact Hoyolab
959×540

Sumeru Pyramid Exact Location Genshin Impact Hoyolab
Sumeru Pyramid Exact Location Genshin Impact Hoyolab
1778×1000
Sumeru Underground Map Phase 1 Genshin Impact Hoyolab
Sumeru Underground Map Phase 1 Genshin Impact Hoyolab
1500×1669
Desert Ruins Of Sumeru But Very Pyramid Genshin Impact Hoyolab
Desert Ruins Of Sumeru But Very Pyramid Genshin Impact Hoyolab
1800×810
Desert Ruins Of Sumeru But Very Pyramid Genshin Impact Hoyolab
Desert Ruins Of Sumeru But Very Pyramid Genshin Impact Hoyolab
1800×810

Guide Remarkable Chests Sumeru Part 1 Genshin Impact Hoyolab
Guide Remarkable Chests Sumeru Part 1 Genshin Impact Hoyolab
1050×450

Sumeru Desert Part Dendroculus Location Genshin Impact Hoyolab
Sumeru Desert Part Dendroculus Location Genshin Impact Hoyolab
871×794

Showed The Territories Of Sumeru In Genshin Impact The Jungle And The
Showed The Territories Of Sumeru In Genshin Impact The Jungle And The
1280×720

Genshin Impact Sumeru Underground Map Arrives In New Hoyolab Update
Genshin Impact Sumeru Underground Map Arrives In New Hoyolab Update
1920×1080
Region Borders Of Sumeru Desert Genshin Impact Hoyolab
Region Borders Of Sumeru Desert Genshin Impact Hoyolab
3334×3072


Genshin Impact Leak Shows The Inside Of Sumerus Pyramid
Genshin Impact Leak Shows The Inside Of Sumerus Pyramid
1800×900
All 5 Glinting Component Locations In Genshin Impact Sumeru Desert
All 5 Glinting Component Locations In Genshin Impact Sumeru Desert
1920×1080
Genshin Impact Sumeru Desert Underground Map Best Fan Made Guide To
Genshin Impact Sumeru Desert Underground Map Best Fan Made Guide To
1920×1080

Genshin Impact Player Climbs To The Top Of Sumerus Giant Pyramid By
Genshin Impact Player Climbs To The Top Of Sumerus Giant Pyramid By
768×432
Genshin Impact Sumeru Desert Map And Fast Travel Points Guide
Genshin Impact Sumeru Desert Map And Fast Travel Points Guide
1920×1080
All Sumeru Scarab Locations And How To Farm Them In Genshin Impact
All Sumeru Scarab Locations And How To Farm Them In Genshin Impact
818×672
How To Go To The Sumeru Desert In Genshin Impact Pro Game Guides
How To Go To The Sumeru Desert In Genshin Impact Pro Game Guides
1024×576

Genshin Impact Sumeru Location Launch Date And Lore Knowledge And
Genshin Impact Sumeru Location Launch Date And Lore Knowledge And
1920×1080

Genshin Impact Sumeru All Chests Locations Common Exquisite Luxurious
Genshin Impact Sumeru All Chests Locations Common Exquisite Luxurious
678×381
