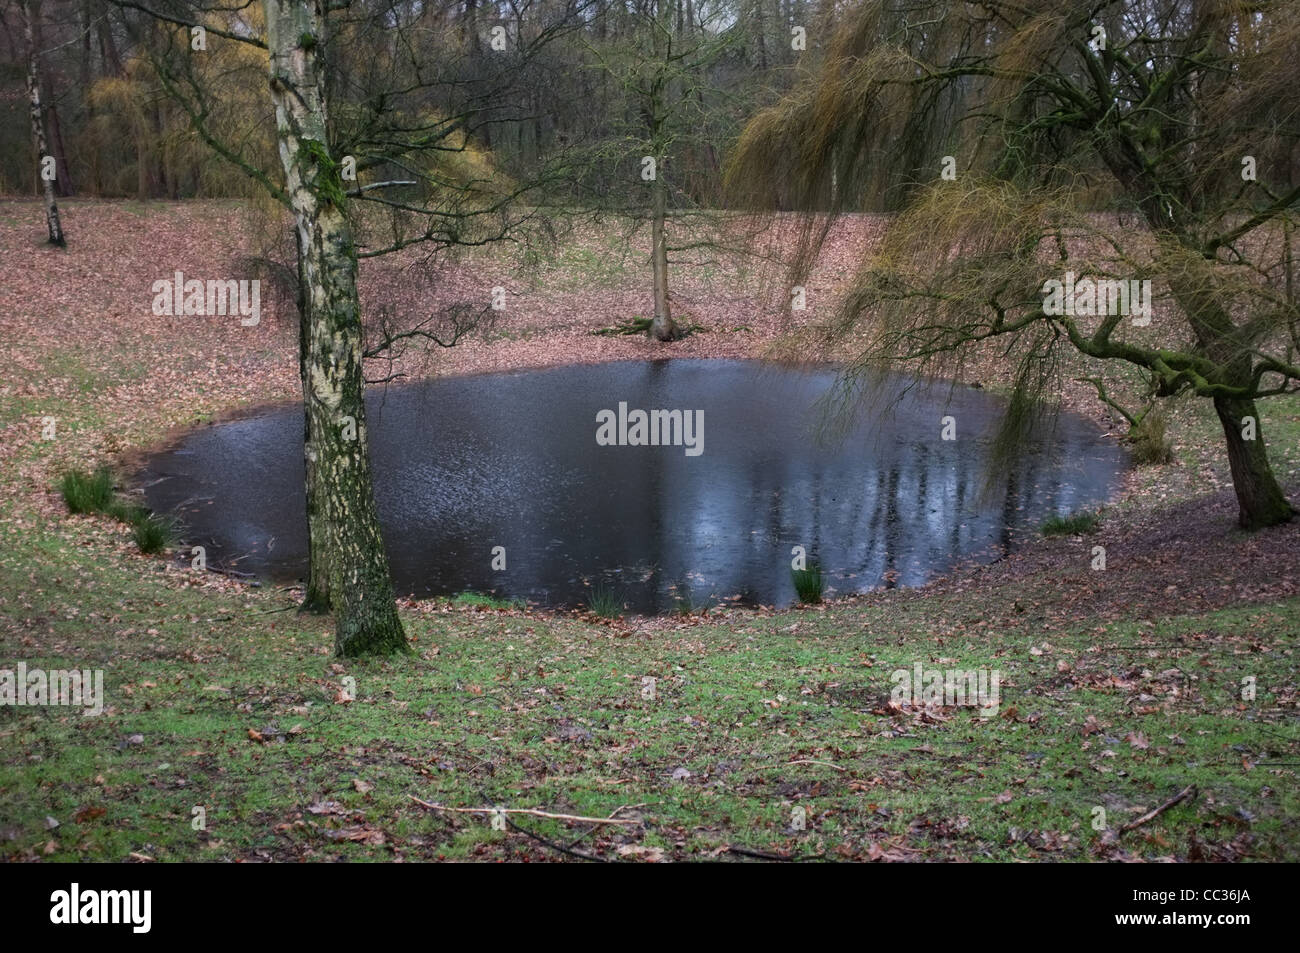
World War 1 Bomb Crater Hill 60 Ypres Salient Stock Photo Alamy
Find inspiration for World War 1 Bomb Crater Hill 60 Ypres Salient Stock Photo Alamy with our image finder website, World War 1 Bomb Crater Hill 60 Ypres Salient Stock Photo Alamy is one of the most popular images and photo galleries in World War 1 Bomb Crater Hill 60 Ypres Salient Stock Photo Alamy Gallery, World War 1 Bomb Crater Hill 60 Ypres Salient Stock Photo Alamy Picture are available in collection of high-quality images and discover endless ideas for your living spaces, You will be able to watch high quality photo galleries World War 1 Bomb Crater Hill 60 Ypres Salient Stock Photo Alamy.
aiartphotoz.com is free images/photos finder and fully automatic search engine, No Images files are hosted on our server, All links and images displayed on our site are automatically indexed by our crawlers, We only help to make it easier for visitors to find a free wallpaper, background Photos, Design Collection, Home Decor and Interior Design photos in some search engines. aiartphotoz.com is not responsible for third party website content. If this picture is your intelectual property (copyright infringement) or child pornography / immature images, please send email to aiophotoz[at]gmail.com for abuse. We will follow up your report/abuse within 24 hours.
Related Images of World War 1 Bomb Crater Hill 60 Ypres Salient Stock Photo Alamy
World War 1 Bomb Crater Hill 60 Ypres Salient Stock Photo Alamy
World War 1 Bomb Crater Hill 60 Ypres Salient Stock Photo Alamy
1300 x 953 · JPG

Preserved First World War British Trenches And Shell Craters In
Preserved First World War British Trenches And Shell Craters In
1119 x 1390 · JPG

Hill 60 On Southern Flank Of The Ypres Salient A Sketch Of German
Hill 60 On Southern Flank Of The Ypres Salient A Sketch Of German
993 x 1390 · JPG

Preserved First World War British Trenches And Shell Craters In
Preserved First World War British Trenches And Shell Craters In
1300 x 956 · JPG

Preserved First World War British Trenches And Shell Craters In
Preserved First World War British Trenches And Shell Craters In
1300 x 956 · JPG

Ww1 Mine In Crater At Hill 60 First World War One 14 18 Site At
Ww1 Mine In Crater At Hill 60 First World War One 14 18 Site At
1300 x 955 · JPG

World War 1 Hill 60 Zwarte Leen Belgium The Caterpillar Crater
World War 1 Hill 60 Zwarte Leen Belgium The Caterpillar Crater
1300 x 453 · JPG

Hill 60 Was A Low Rise On The Southern Flank Of The Ypres Salient And
Hill 60 Was A Low Rise On The Southern Flank Of The Ypres Salient And
1300 x 955 · JPG

World War 1 Shell Craters At Sanctuary Wood Near Ypres In Belgium Stock
World War 1 Shell Craters At Sanctuary Wood Near Ypres In Belgium Stock
1300 x 956 · JPG

Preserved First World War British Trenches And Shell Craters In
Preserved First World War British Trenches And Shell Craters In
1300 x 956 · JPG

Mine Crater World War One Hill 60 Hi Res Stock Photography And Images
Mine Crater World War One Hill 60 Hi Res Stock Photography And Images
1300 x 955 · JPG

World War 1 Shell Craters At Sanctuary Wood Near Ypres In Belgium Stock
World War 1 Shell Craters At Sanctuary Wood Near Ypres In Belgium Stock
866 x 1390 · JPG
First World War Shells On Display In Hooge Crater Museum Ypres Salient
First World War Shells On Display In Hooge Crater Museum Ypres Salient
1300 x 953 · JPG
Hill 60 Ypres The Peak Of Military Mining Sir John Monash Centre
Hill 60 Ypres The Peak Of Military Mining Sir John Monash Centre
1600 x 950 · JPG
Preserved World War One Trenches At Hill 62 Ypres Salient Stock Photo
Preserved World War One Trenches At Hill 62 Ypres Salient Stock Photo
870 x 1390 · JPG

Bomb Craters And Trenches From World War I Visible At Sanctuary Wood
Bomb Craters And Trenches From World War I Visible At Sanctuary Wood
1300 x 956 · JPG

British World War 1 Trenches At Hill 62 Sanctuary Wood On The Ypres
British World War 1 Trenches At Hill 62 Sanctuary Wood On The Ypres
1300 x 921 · JPG
Preserved World War One Trenches At Hill 62 Ypres Salient Stock Photo
Preserved World War One Trenches At Hill 62 Ypres Salient Stock Photo
870 x 1390 · JPG

British World War 1 Trenches At Hill 62 Sanctuary Wood On The Ypres
British World War 1 Trenches At Hill 62 Sanctuary Wood On The Ypres
1300 x 956 · JPG

Map Of The First And Second Battle Of Ypres And The Ypres Salient
Map Of The First And Second Battle Of Ypres And The Ypres Salient
1300 x 1338 · JPG
Preserved World War One Trenches At Hill 62 Ypres Salient Stock Photo
Preserved World War One Trenches At Hill 62 Ypres Salient Stock Photo
870 x 1390 · JPG

British World War 1 Trenches At Hill 62 Sanctuary Wood On The Ypres
British World War 1 Trenches At Hill 62 Sanctuary Wood On The Ypres
866 x 1390 · JPG

Bomb Craters And Trenches From World War I Visible At Sanctuary Wood
Bomb Craters And Trenches From World War I Visible At Sanctuary Wood
1300 x 956 · JPG

Bomb Craters And Trenches From World War I Visible At Sanctuary Wood
Bomb Craters And Trenches From World War I Visible At Sanctuary Wood
866 x 1390 · JPG

British World War 1 Trenches At Hill 62 Sanctuary Wood On The Ypres
British World War 1 Trenches At Hill 62 Sanctuary Wood On The Ypres
1300 x 956 · JPG

British World War 1 Trenches At Hill 62 Sanctuary Wood On The Ypres
British World War 1 Trenches At Hill 62 Sanctuary Wood On The Ypres
866 x 1390 · JPG
German First World War Preserved Trenches At Bayernwald Ypres Salient
German First World War Preserved Trenches At Bayernwald Ypres Salient
863 x 1390 · JPG
Craters On Combres Hill France Created By World War I Bombs And
Craters On Combres Hill France Created By World War I Bombs And
1300 x 1037 · JPG

Two British First World War Cemeteries Ploegsteert Ypres Salient
Two British First World War Cemeteries Ploegsteert Ypres Salient
1300 x 951 · JPG

Ww1 Shell Craters Hill 62 Sanctuary Wood Near Ypres Belgium Stock
Ww1 Shell Craters Hill 62 Sanctuary Wood Near Ypres Belgium Stock
1300 x 953 · JPG
First World War Shells On Display In Hooge Crater Museum Ypres Salient
First World War Shells On Display In Hooge Crater Museum Ypres Salient
1300 x 953 · JPG

Hill 60 Was A Low Rise On The Southern Flank Of The Ypres Salient And
Hill 60 Was A Low Rise On The Southern Flank Of The Ypres Salient And
1300 x 955 · JPG

Ypres Salient Hi Res Stock Photography And Images Alamy
Ypres Salient Hi Res Stock Photography And Images Alamy
1300 x 872 · JPG

Hill 60 Ypres Salient Belgium Stock Photo Alamy
Hill 60 Ypres Salient Belgium Stock Photo Alamy
866 x 1390 · JPG
